Installation:
- Download plugin from VPB
- Go to: dashboard > plugins > add new > upload
- Activate the add-on
Configuration:
After you have the add-on installed and activated, you are now ready to use the User Registration Add-On. See our article on Using the User Registration Add-On for detailed instructions.
Create Your Form
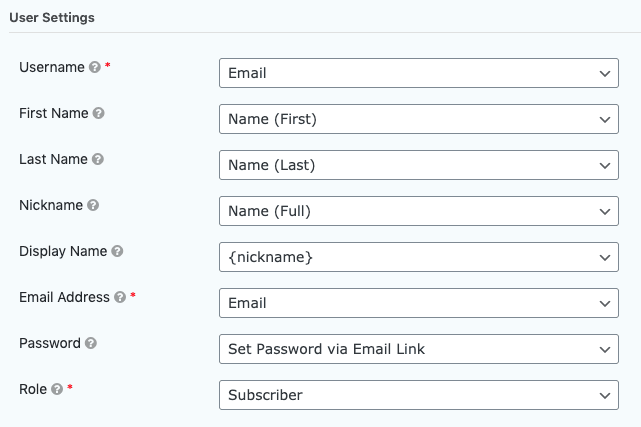
The first step in integrating the User Registration Add-On is going to be creating the form you would like to use. This can include existing forms. The only required fields a Gravity Form must contain to be compatible with the User Registration Add-On are the Username and Email fields. Here are the steps used to create an optimal User Registration form.
- In your WordPress admin dashboard go to New Form under the Forms navigation or choose an existing form from Edit Forms.
- Add the following fields to your form:
- Username (required)
Add a Single Line Text field (under Standard Fields); used to map the Username for user registration.
- First Name & Last Name
Add a Name field (under Advanced Fields). This will be used to map both the first and last name for user registration.
- Email (required)
Add an Email field (under Advanced Fields); used to map the Email Address for user registration.
- Password
Add a Password field (under Advanced Fields). This field will only be available after the User Registration Add-on is installed and activated. This field will be mapped to the Password field for user registration.
- Additional Fields
You can add as many additional fields as you require. These fields can then be mapped to various User Meta fields available in the User Registration feed.
- Save your form.
Create Your Feed
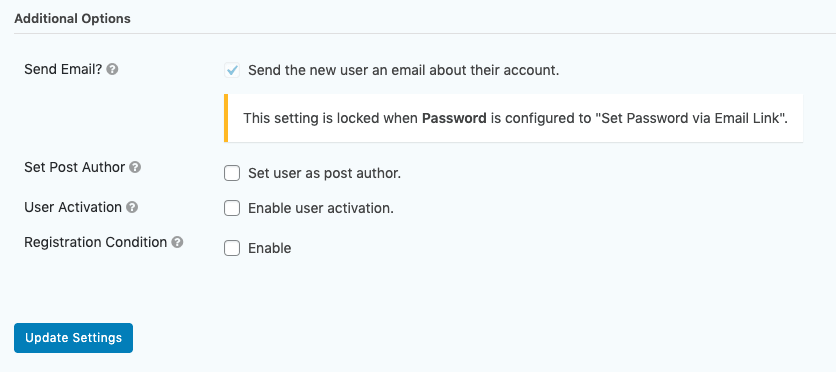
You notification feed does the heavy lifting, and is used to determine exactly what should happen after someone submits your form. For information on setting up User Registration feeds, see the following: Creating a Feed for the User Registration Add-On
Custom Registration Page
If you would like to use a custom registration page, please create and publish a new WordPress Page and embed your registration form there.
- Go to Forms > Settings > User Registration, and check the box Enable Custom Registration Page.
- Once checked, you will be presented with a drop down of all the Pages on your site. Select the Page you created as your custom registration form.
- Click the Update Settings button. This will redirect any visitors who try to access your site’s /wp-login.php?action=register page to the page on your site which holds your User Registration form.
Limitations
The User Registration Add-On does not automatically add custom meta fields to the WordPress user profile page. If you need to display the data, take a look at Justin Tadlock’s custom user meta post. There are also some third-party plugins you can use like the Extra User Details.
The User Registration Add-On does not automatically create Roles & Capabilities in WordPress, nor does it provide any form of content restriction on your website based on Roles & Capabilities. If you need to create and manage Roles & Capabilities and restrict content on particular pages or posts, take a look at Members or User Role Editor, which both integrate directly with Gravity Forms Roles & Capabilities.
PayPal Standard Integration
The User Registration Add-On integrates with the Gravity Forms PayPal Standard Add-On to provide the following options:
- Register user only when a payment is received.
When this option is enabled, the user will not be registered until the PayPal payment has been received.
- Update user when subscription is canceled.
When this option is enabled, the user’s role will be adjusted based on the drop down selected to the right.
