
Website Optimization
Website optimization is more important than ever for our small business customers. This post covers the steps to optimize WDS WordPress websites using WP Rocket and Smush Pro.

Solution
Before starting optimization you need to update plugins using the outlined process HERE.
[Estimated time: 45 minutes]
Website optimization is more important than ever for our small business customers. This post covers the steps to optimize WDS WordPress websites using WP Rocket and Smush Pro.
Use the template below to record the following:
– Google Lighthouse before optimization
– Google Lighthouse after optimization
– LCP (Largest Contentful Paint) before optimization
– LCP after optimization
Paste this template in the comments of the Jira ticket
Google Light House Score Before____ After____
LCP Before____ After_____
Average time spent:
Update GD cORe and Install WP Rocket
The new version of GD cORe includes automation for the WP Rocket to optimize files and the database.
On the WP Plugins page make sure GD cORe is on Version 3.1.1 or higher, update to the most recent version if not. Follow along with this guide if you need help updating core.
In the WP Dashboard go to GD cORe > Plugins
Install WP Rocket

All the settings should auto setup at this point, but if for any reason they do not please follow the guide below.
WP Rocket Settings for Improved Website Performance
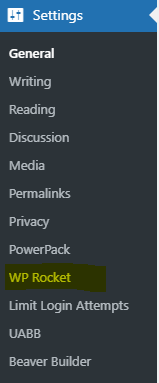
In the WordPress Dashboard hover over Settings and select WP Rocket.
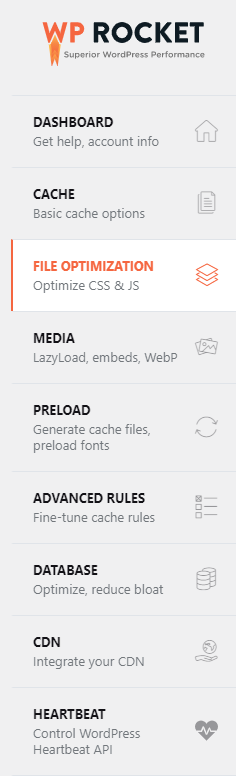
File Optimization
In the WP Rocket dashboard select File Optimization.
Please ignore the steps in red for now, we are working on a more streamlined process.
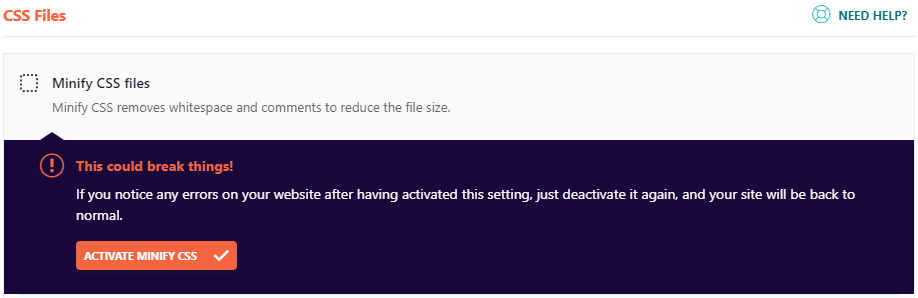
Select the following options under CSS Files:
- Minify CSS Files
- Combine CSS Files
- Optimize CSS Delivery
Click through any warning boxes.
Scroll down and select Save Changes.

Select the following options under JavaScript Files:
- Minify JavaScript Files
- Combine JavaScript files
- Load JavaScript deferred
- Delay JavaScript execution
Click through any warning boxes.
Scroll down and Save Changes.
Media
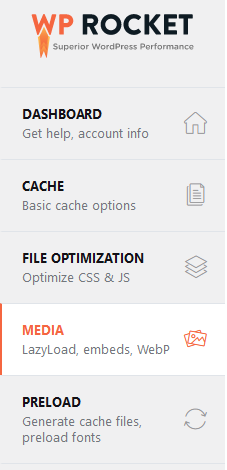
Select the Media tab and update the following:
Under Image Dimensions select the check box for Add missing image dimensions
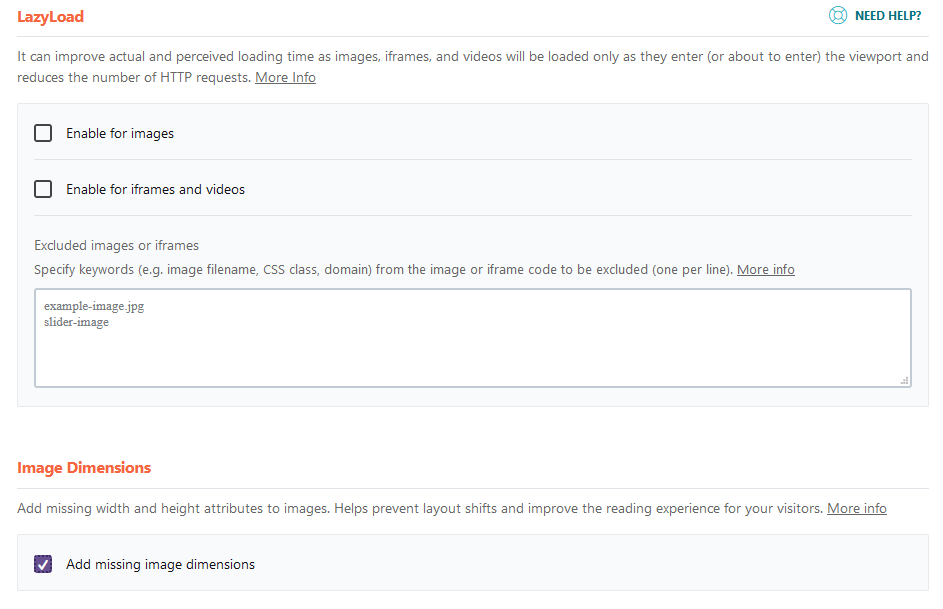
Scroll down and hit Save Changes.
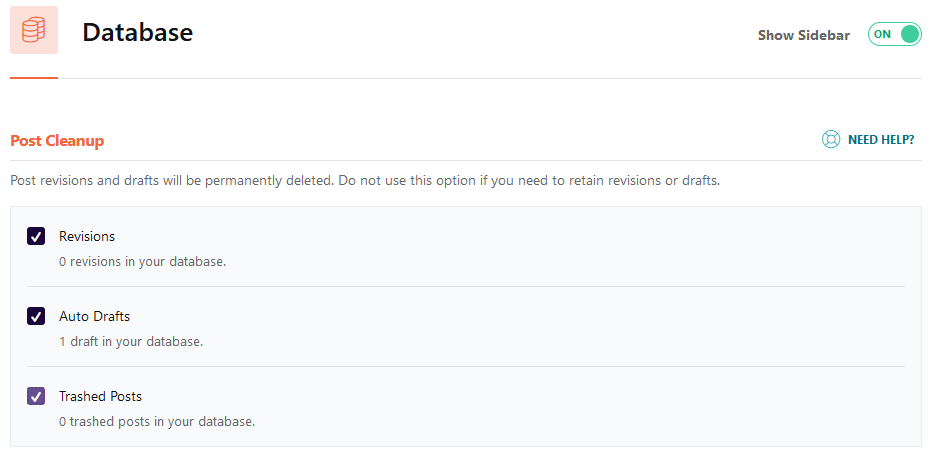
Database
Finally select the Database tab and update the following:
Under Post Cleanup select the following:
- Revisions
- Auto Drafts
- Trashed Posts
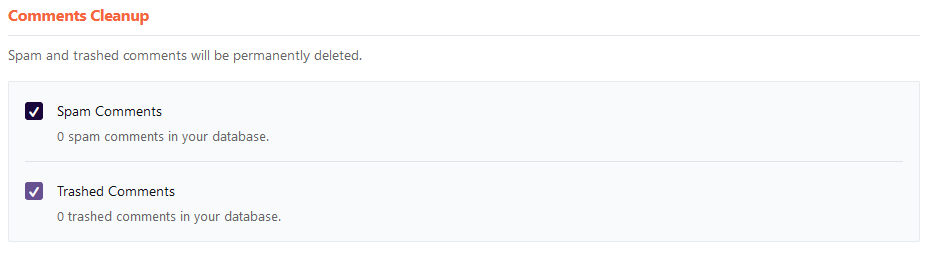
Under Comments Cleanup and Transients Cleanup section, select all options.
Under Database Cleanup select Optimize Tables

Once you have the above options selected, scroll down and hit Save Changes and Optimize

? Flush Managed WordPress cache and GD cORE cache at this point, then verify that site is working properly before moving to the next step.
Install and Activate WP File Manager
For Instructions on installing this plugin check out the post on Increasing PHP Memory Limit HERE
Smush Pro Dashboard
Before getting started make sure WMPU DEV Dashboard is activated under GD cORe

In the Smush Pro Dashboard Bulk Smush any images if needed.

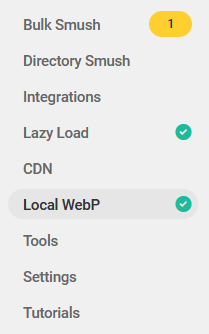
Next, go to the Local WebP tab and select Get Started
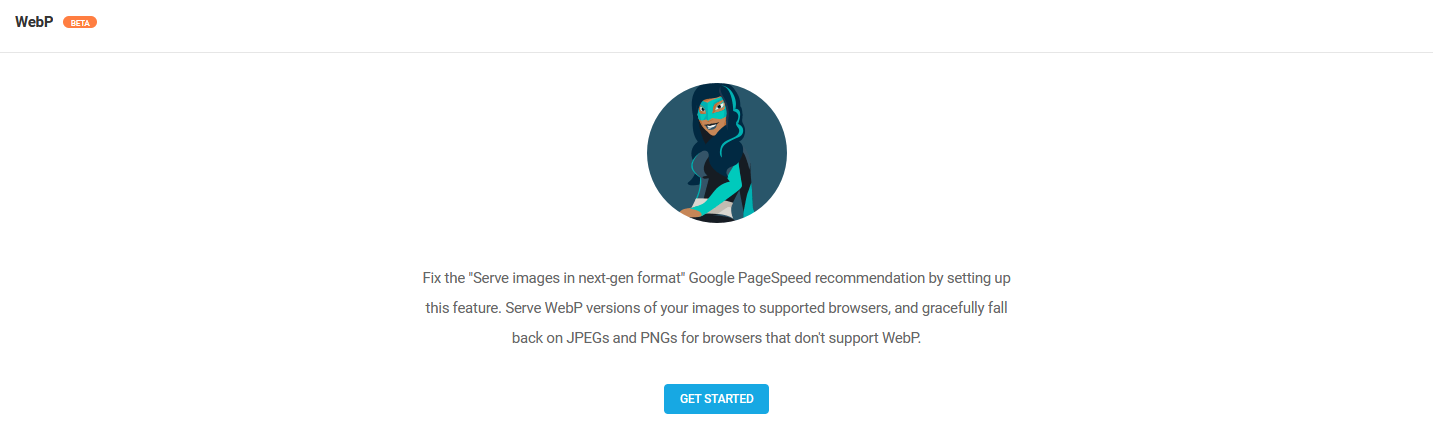
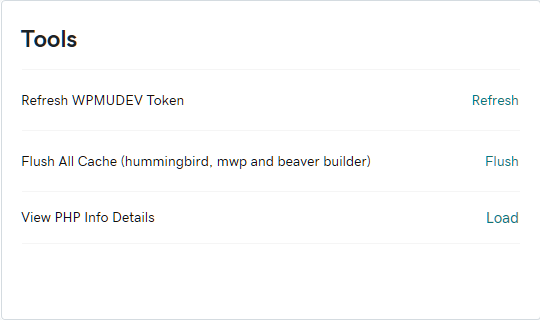
If the button says “Upgrade” instead of “Get Started”, please go the the GD cORe dashboard and refresh the WPMU token under tools.
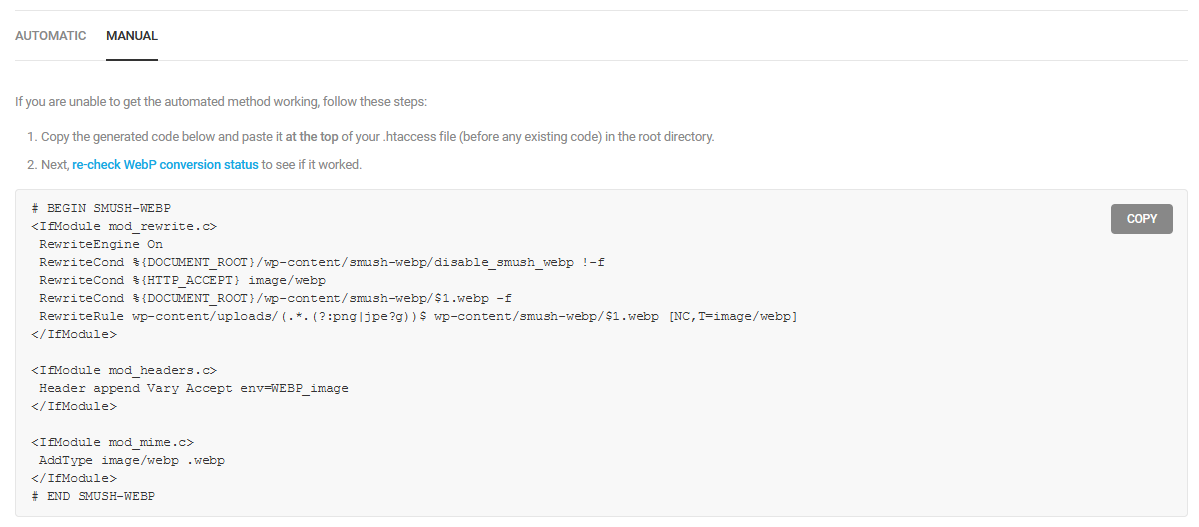
Under Configurations | Enable conversion, Select MANUAL tab
Copy the code (to be added to .htaccess file)
Next navigate to Plugins and select Settings under WP File Manager
Locate the .htaccess file and right click, then select Code Edit from the drop down.
Paste the copied code to the TOP of the .htaccess file, leaving a full line between the new code and the current code.

Save and Close the .htaccess file, flush Managed WordPress and GD cORe cache.
Return to Smush Pro Dashboard to verify that the code worked correctly.
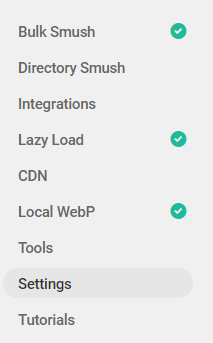
You should now see a green checkmark next to Local WebP
Once verified, make sure you Deactivate and Delete the File Manager Plugin.
Local WebP Missing Green Check
After updating .htaccess sometimes Smush Pro does not sync properly with the server to deliver WebP images. If the Local WebP doesn’t have a green check the following instructions usually help connect the new Smush Pro settings with the server.
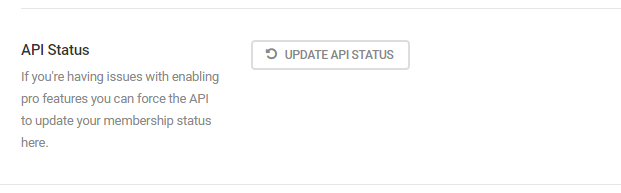
While in the Smush Pro Dashboard select “Settings.”
Then scroll down to the bottom to locate the API Status heading and button “Update API Status” From there they can click the button to update the API status and resync with the server. Then click “Update “Settings on the bottom right.

? Flush Managed WordPress cache and GD cORE cache at this point, then verify that site is working properly before closing ticket.
Examples:
- Website Optimization
- Slow Sites/Increase Site Speed