Installation:
- Go to “Plugins” > “Add New” and search for “TI WooCommerce Wishlist” OR go to the plugin page and download it > upload it to the site – We will be using the free version as it covers the functionality required
- Press “Install Now” button for the “TI WooCommerce Wishlist” plugin
- After the installation is complete click “Activate” link (Plugins > Installed Plugins)
Configuration:
Once active, there will be a “TI Wishlists” tab under WooCommerce and Products in the dashboard
General Settings
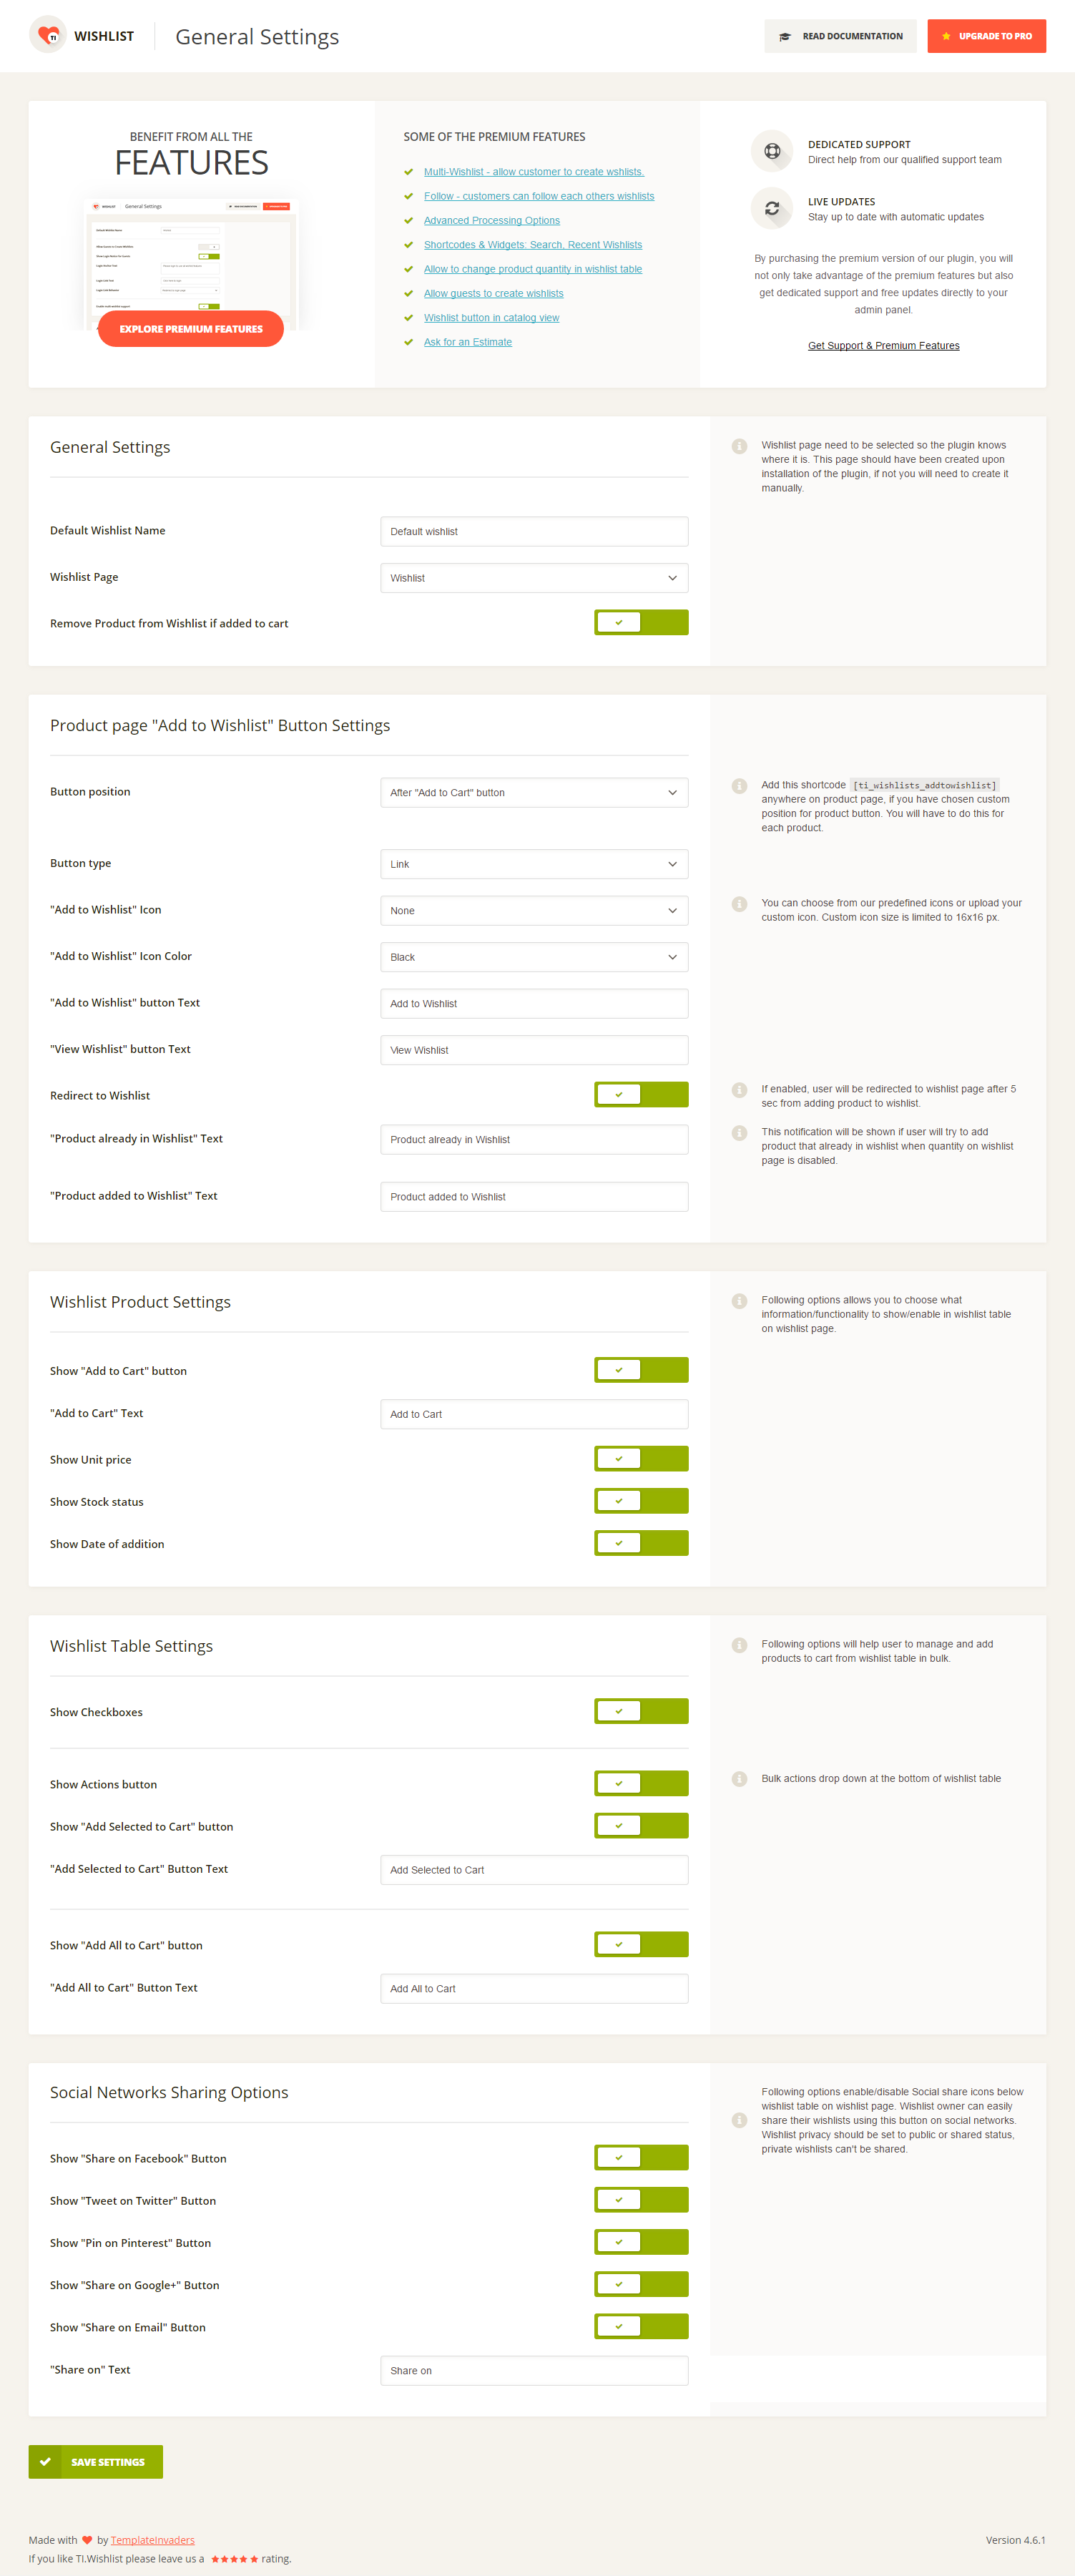
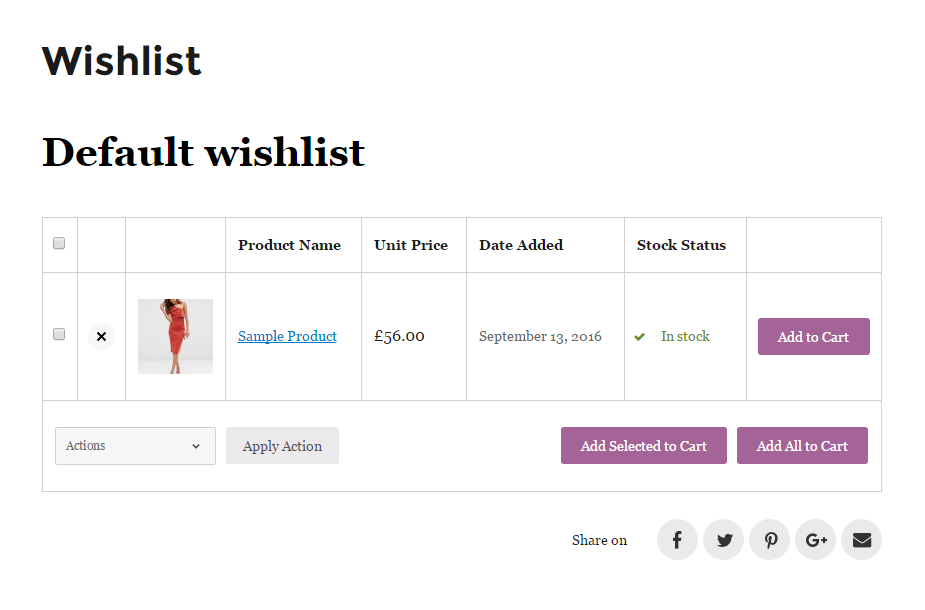
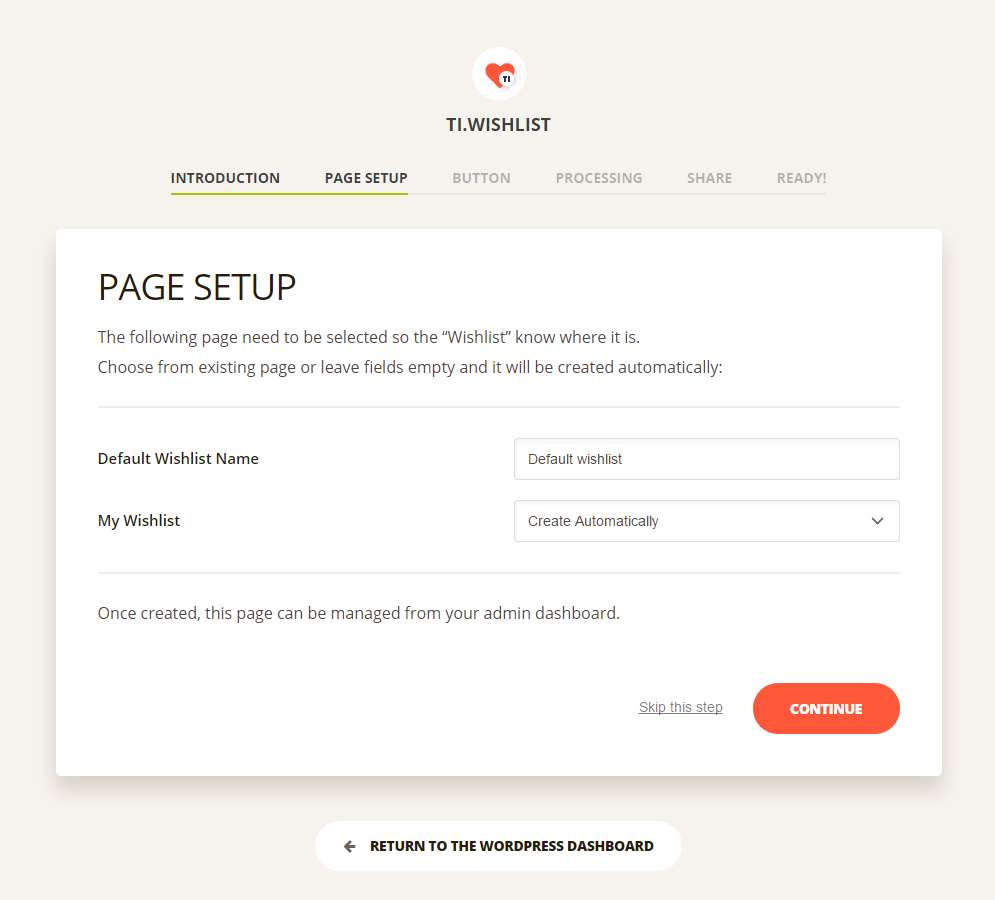
- Default Wishlist Name – here you can set what wishlist name the users will see by default. (See image below).
- Wishlist Page – Wishlist page need to be selected so the plugin knows where it is. This page should have been created upon installation of the plugin, if not you will need to create it manually.
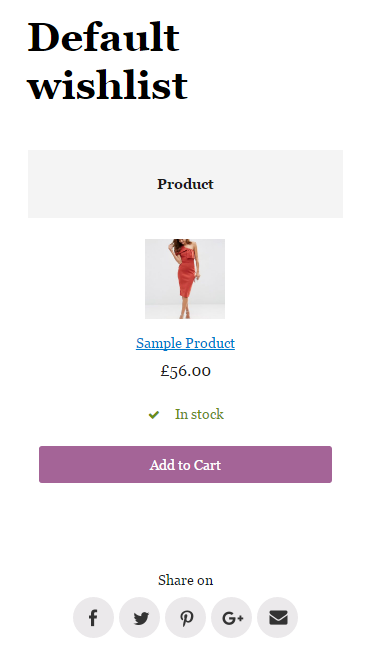
Wishlist page is a usual page with wishlist shortcode, so you can add any additional content to this page if you need. Or you can create any page and place wishlist shortcode there. Then simply choose this page as Wishlist page.
- Wishlist page shortcode:
[ti_wishlistsview]
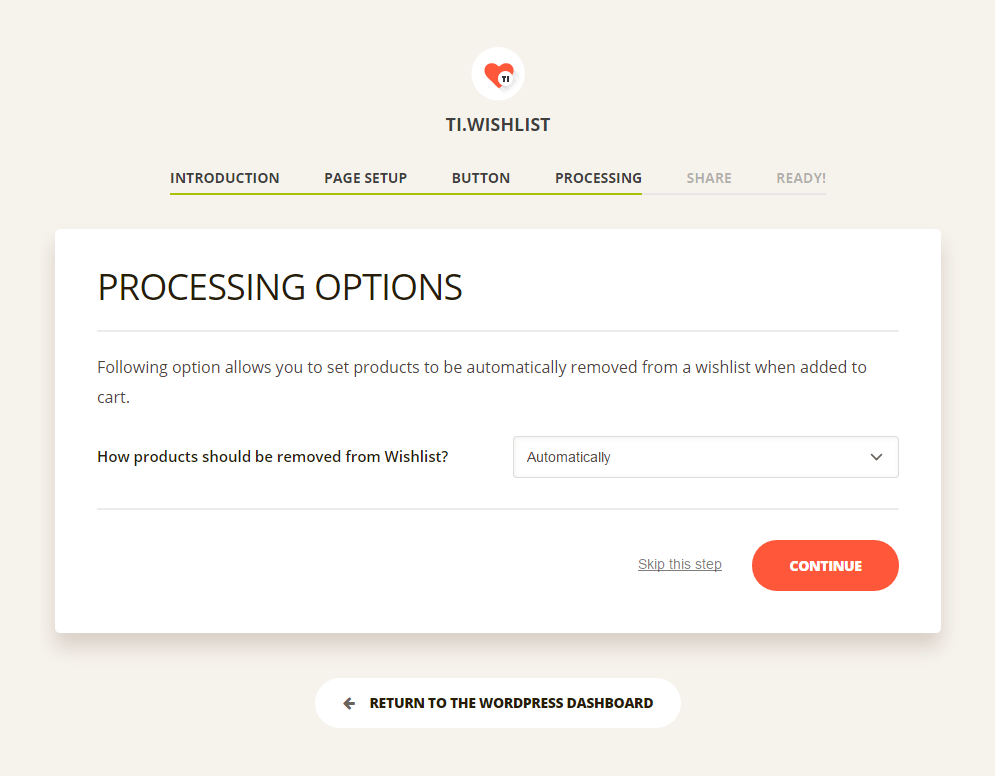
- Remove Product from Wishlist if added to cart – if this option is enabled, the product will be automatically removed from the users wishlist once it is added to cart.
“Add to Wishlist” button settings
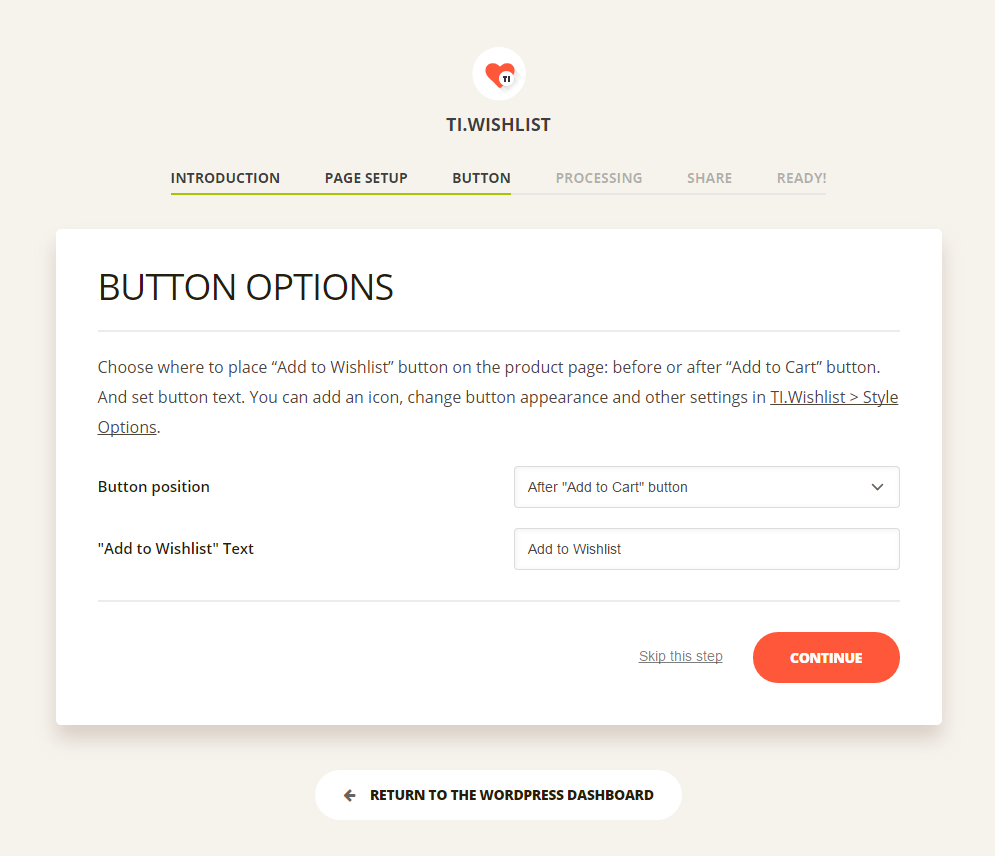
- Button position – allows you to set position of the “Add to wishlist” button on a single product page. *If you choose “Custom Position with code” option, you will have the ability to add the “Add to wishlist” button using the shortcode anywhere in a product content section. You can also put this shortcode at any page/post of your website.
- Shortcode:
[ti_wishlists_addtowishlist product_id="70" variation_id="0"] – You will need to add your product ID and Variation ID for variable products – To find the ID head to Products in your admin panel and then hover over the product you need the ID for. You’ll see the product ID number right there.
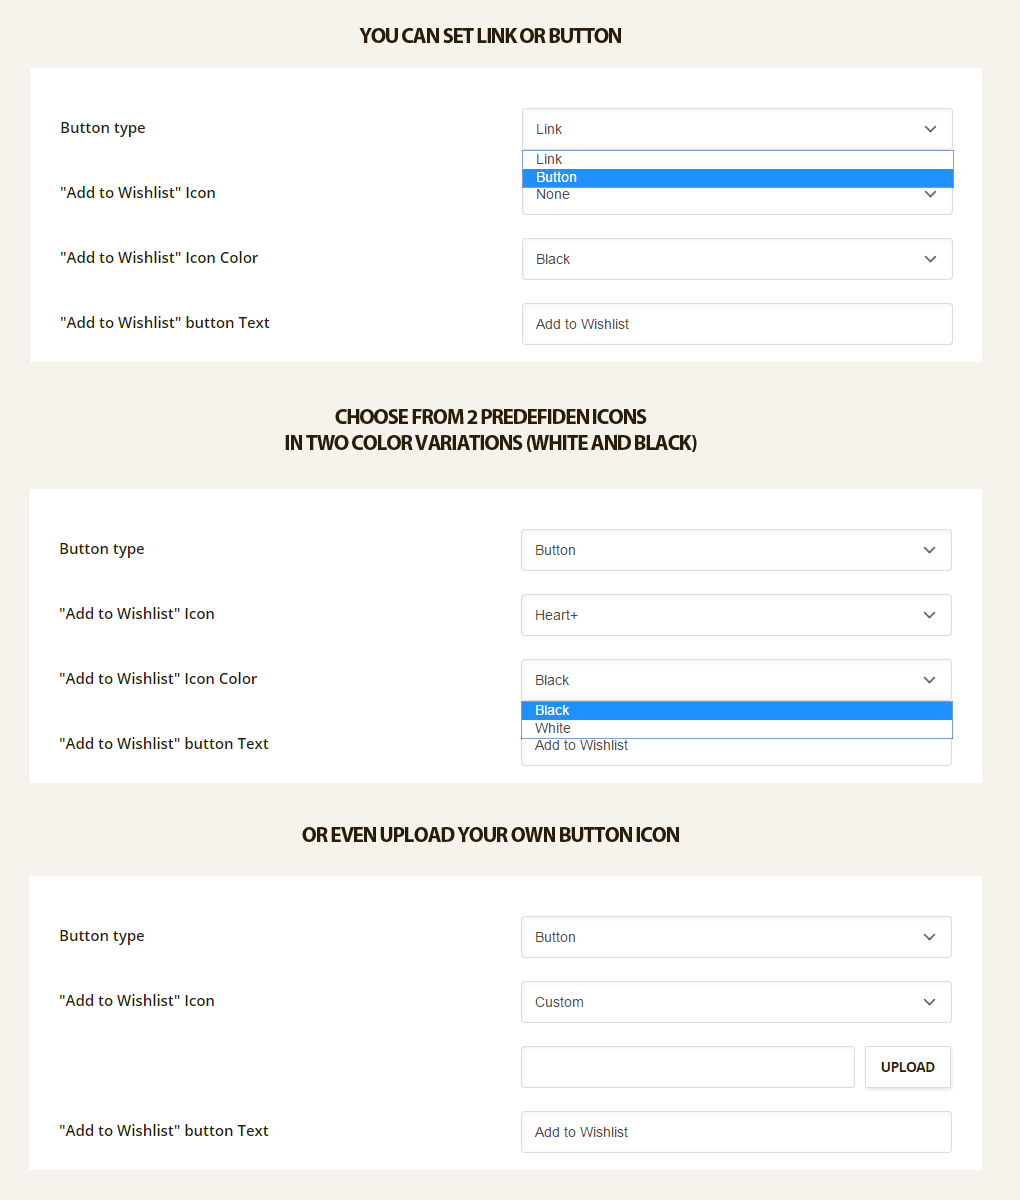
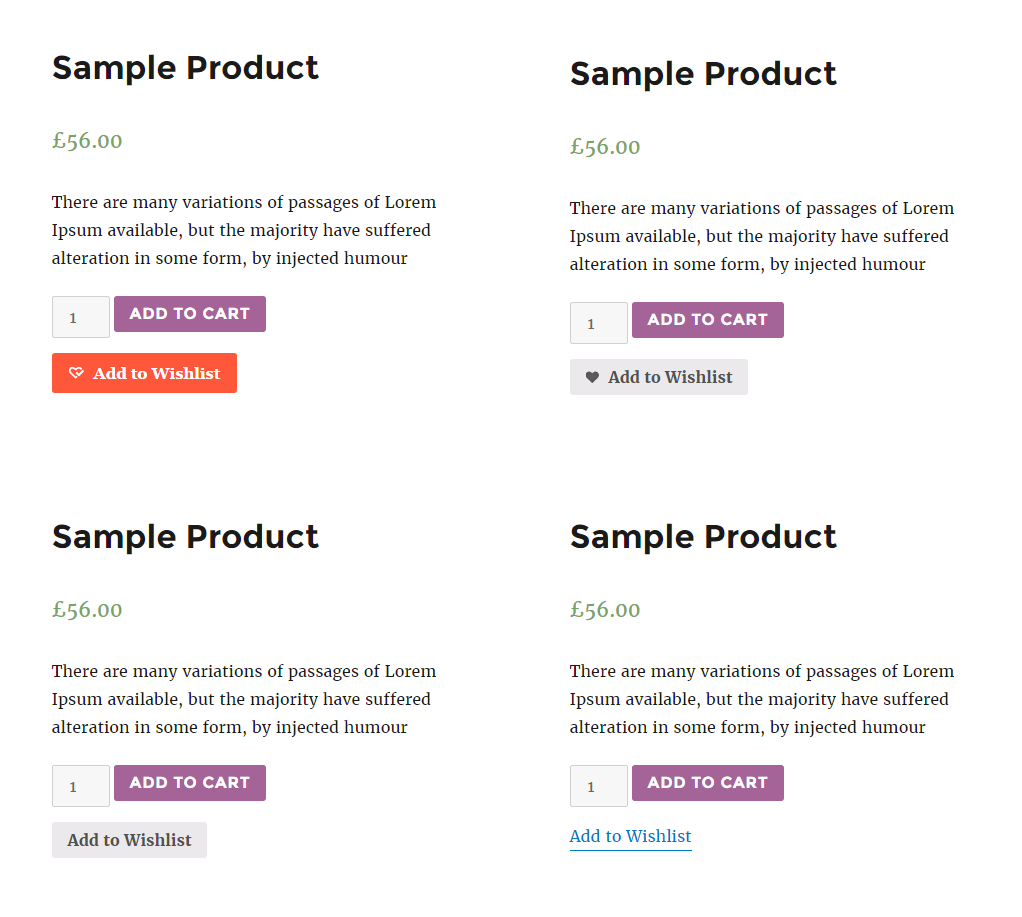
- Button type – option applies how “Add to wishlist” will be displayed as a button or a link
- “Add to Wishlist” Icon – here you can enable/disable the icon before the “Add to wishlist” button or even upload your custom icon. Icon will be scaled to 14×14 px. Using the icons with larger dimensions may require additional styling to fit the button.
- “Add to Wishlist” Text – you can change add to wishlist button text here.
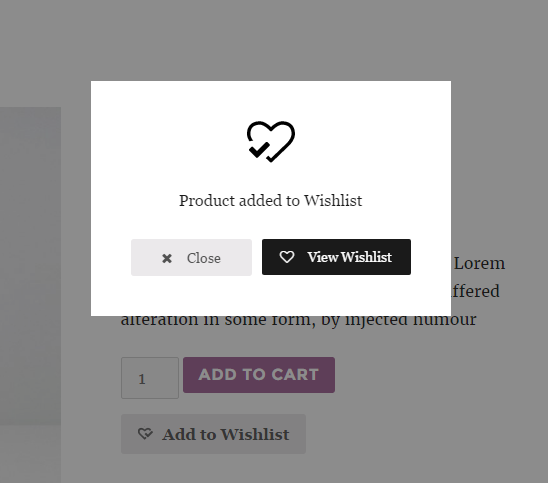
When you click Add to Wishlist button a popup with success or error message appears. You can adjust message and buttons text for this popups with following options.
- “View Wishlist” Text – here you can put your custom text that will be displayed in a popup before and after adding the product into wishlist.
- “Product already in Wishlist” Text & “Product added to Wishlist” Text – you can adjust success and error message for Add to Wishlist button.
- Redirect to Wishlist – if this option is enabled, you will be redirected to a wishlist page after the product was added in 5 seconds
Wishlist Table Settings
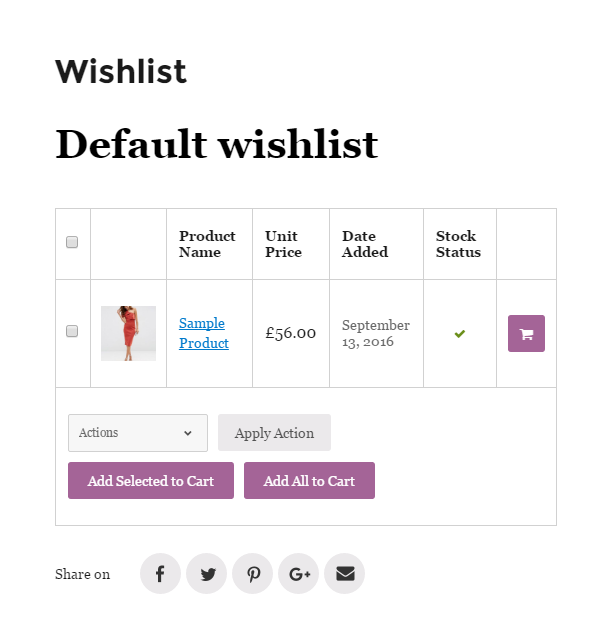
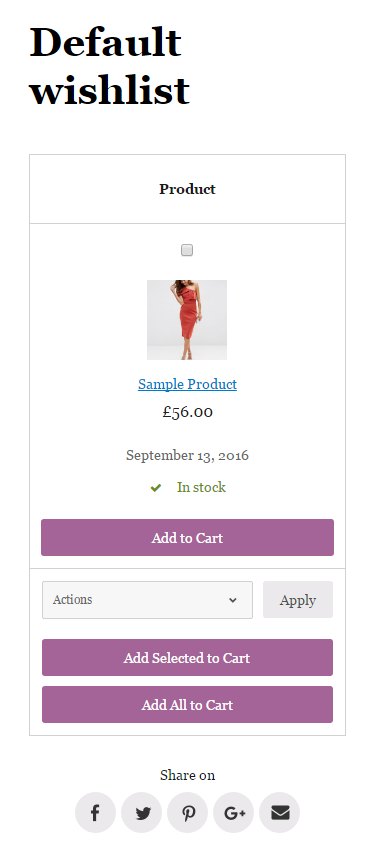
- You can choose what kind of information to show in wishlist page table. So you can make your wishlist page simple or informative.
- Show Checkboxes – this option enables/disables the ability to use multiple actions with products in a wishlist.
- Show Actions button – enables/disables drop down with bulk actions on the bottom left of the wishlist table.
- Show “Add Selected to Cart” button & “Add Selected to Cart” Button Text – these options allows you to show/hide this button and also apply custom text.
- Show “Add All to Cart” button & “Add All to Cart” Button Text – these options allows you to show/hide this button and also apply custom text.
Wishlist Style options
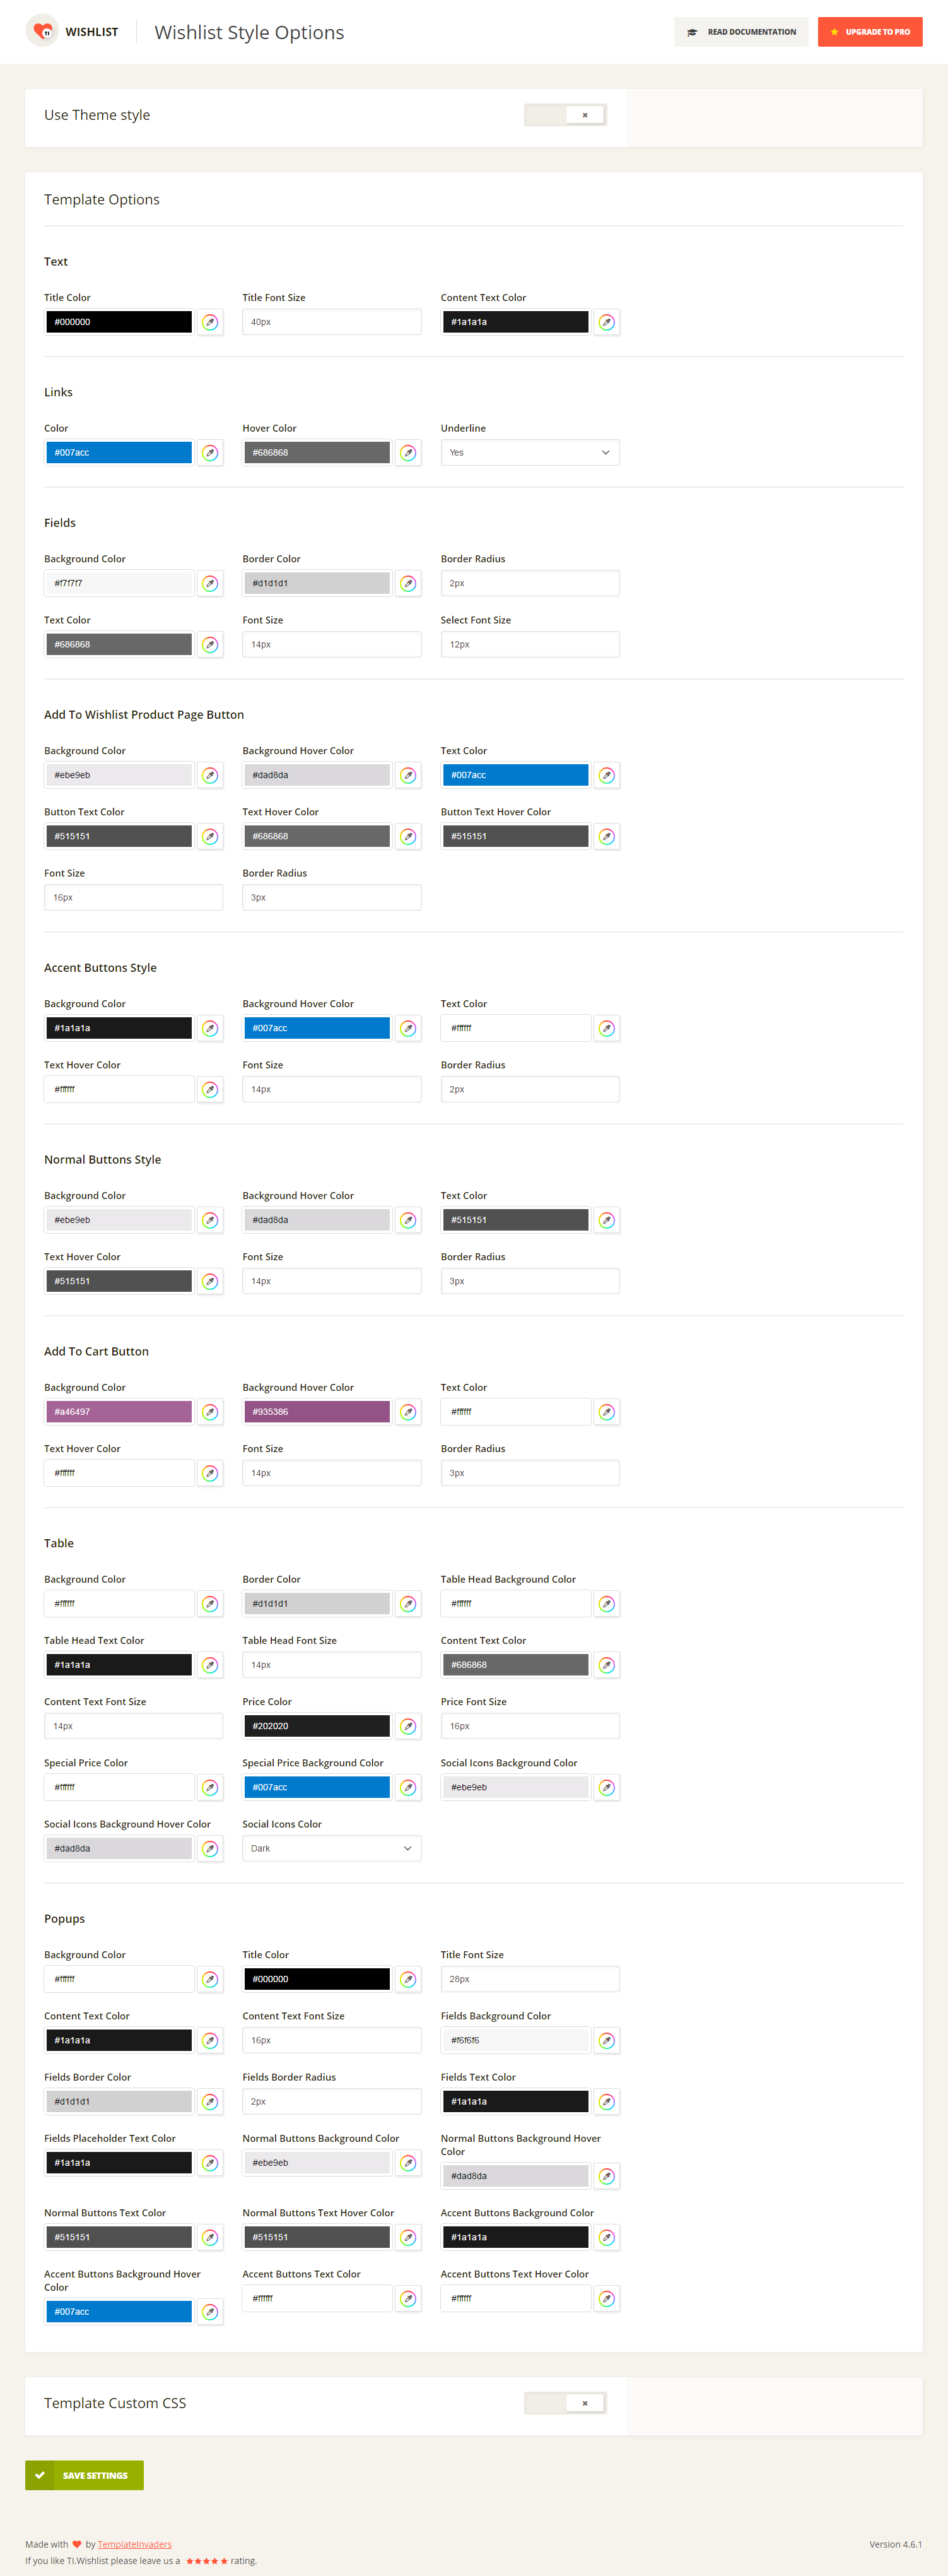
You can choose between using theme or wishlist custom styles. If you choose to use theme styles only the most important for wishlist styles will be added.
Using This plugin with themer On a singular product page:
While using beaver themer layout and themer’s Woo “add to cart” module
- The plugin automatically adds the “add to wishlist” button under “add to cart” button without any code/shortcode needed
- So the quest for it being shown on the individual product pages can be accomplished without any extra steps
Using This plugin with themer On product archive (category/shop) pages:
Using beaver themer layout with the current woopack modules in the shop page templates OR using standard product modules / uabb product modules, the “add to wishlist” button will not show up
- The plugin has a setting to enable it on product list pages – however it doesn’t automatically add the “add to wishlist” button to these layouts made with woopack modules or uabb modules
- The “add to wishlist” button appears automatically on any products listed on an archive page not using themer template modules
The workaround to get the plugin to work on product archive (category/shop) pages: Use beaver themer layout with powerpack custom grid module
(powerpack custom grid module > choose woocommerce preset > edit preset > add shortcode)
- There’s a posts module from powerpack addon for beaver builder called “custom grid”
- This module gives us 5 post layout preset options and 3 woocommerce product preset layout options
- The custom grid allows you to edit the presets and customize what fields from a product or post you want displayed in the archive
How to use it
- Edit the product archive pages in themer
- Remove the existing product grid module being used on the template you’re editing
- Select PowerPack’s custom grid module
- Select one of the 3 preset layout options available for WooCommerce from the module’s drop down
- Add the “add to wishlist” button’s shortcode
[ti_wishlists_addtowishlist] from the plugin into this preset – you can place it after the button or you can place it anywhere that makes sense
- The only thing is, the color and button settings aren’t modifiable via the module and they inherit the styling you’ve set for these items in the theme customizer – any additional styling can be done with css
- This module doesn’t have quick view and that’s okay because not having quick view makes the page load faster


